Understanding Diecast Car Polish Needs
Diecast cars, miniature replicas of real vehicles, are prized possessions for collectors and enthusiasts. Over time, these models can accumulate dust, grime, and even minor scratches, diminishing their visual appeal and value. Polishing diecast cars is a crucial maintenance practice to preserve their pristine condition and enhance their aesthetic qualities. Understanding the needs of diecast cars regarding polishing involves recognizing the materials they are made of, the environmental factors they are exposed to, and the specific methods to restore their shine without causing damage. A proper polish can rejuvenate the paint, remove imperfections, and protect the surface from further wear and tear, ensuring these miniature masterpieces remain in top condition for years to come. It is not just about cleaning it’s about preservation.
Why Polish Diecast Cars
Polishing diecast cars is essential for several compelling reasons. Firstly, it restores the original luster and shine of the paintwork, making the models look as good as new. Over time, exposure to air, light, and handling can dull the paint. Polishing removes this oxidation, revitalizing the colors and bringing out the depth of the finish. Secondly, polishing helps to remove minor scratches, swirl marks, and other imperfections that detract from the appearance of the model. The polishing process gently smooths the surface, minimizing the visibility of these blemishes. Thirdly, polishing provides a protective layer that shields the paint from future damage. This protective layer helps to repel dust, dirt, and UV rays, which can cause fading and deterioration. Regular polishing ensures the longevity and value of your diecast car collection.
Benefits of Diecast Car Polishing

The benefits of polishing diecast cars extend beyond mere aesthetics. Polishing significantly increases the model’s visual appeal, making it more attractive and enjoyable to display. Collectors and enthusiasts take pride in showcasing their models in perfect condition, and a good polish is key to achieving this. The protective layer also helps maintain the model’s value by preventing damage and preserving its original finish. Diecast cars, especially those in mint condition, can appreciate over time, making polishing a wise investment in their longevity. Furthermore, a polished diecast car feels smoother to the touch, giving a satisfying sense of quality and care. Regular polishing not only keeps your models looking their best but also safeguards your investment and enhances the overall collecting experience. Proper cleaning and polish increase its value and collectability.
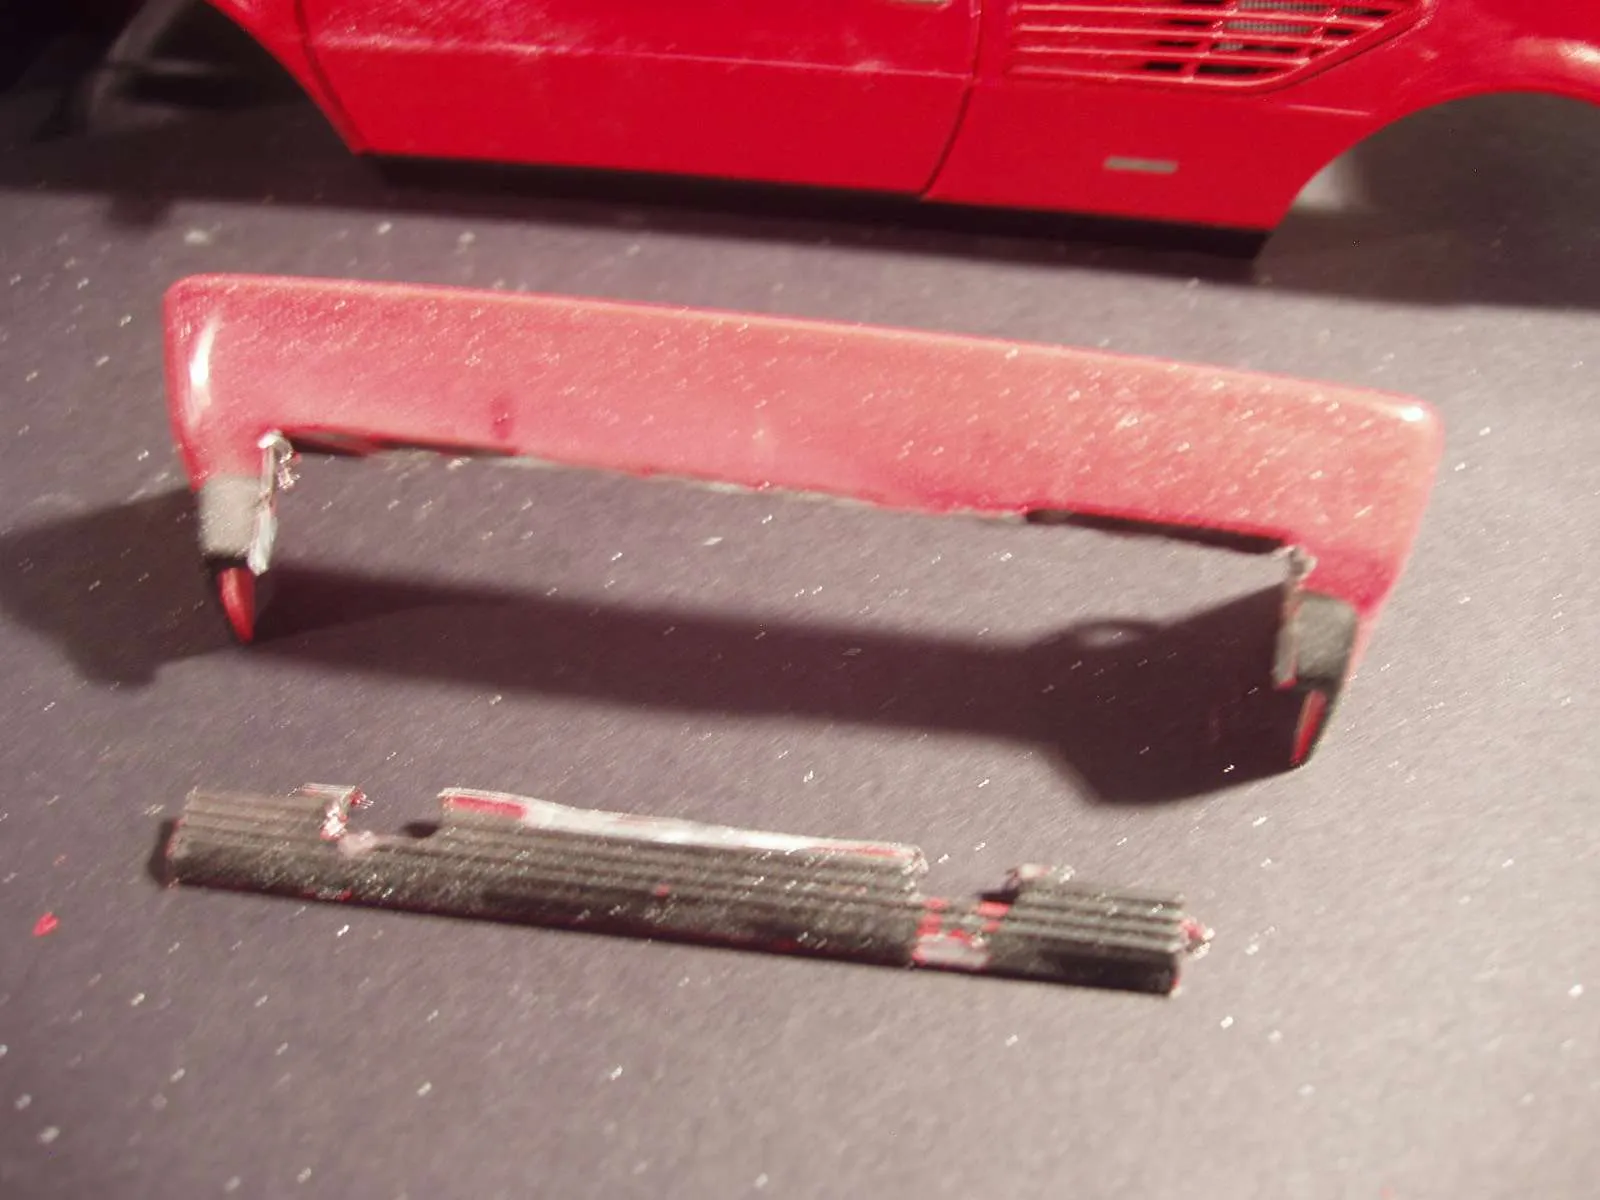
Gathering Your Diecast Car Polishing Supplies
Before you begin polishing your diecast cars, it’s crucial to gather the right supplies. Having the correct tools and products will ensure the best results and protect your models from potential damage. The key is to use high-quality materials specifically designed for delicate surfaces. This preparation phase ensures you’re well-equipped to handle the polishing process efficiently and effectively. It saves time and prevents frustration. By carefully selecting your tools and products, you’re setting the stage for a successful and rewarding polishing experience. With the right supplies, you can achieve professional-quality results and keep your diecast cars looking their best.
Essential Polishing Tools
The essential tools for polishing diecast cars include a soft microfiber cloth, polishing compounds, and optionally, a detailing brush. Microfiber cloths are gentle on the paint and effective at removing polish and buffing the surface to a brilliant shine. Choose cloths that are clean, soft, and specifically designed for automotive detailing. Polishing compounds come in different grades, from fine to coarse, to address various imperfections. Start with a fine compound and only use a more abrasive one if necessary. A detailing brush is useful for cleaning hard-to-reach areas such as grills and crevices. Some collectors also use a dual-action polisher, but this requires experience to avoid damaging the paint. Always test the tools on an inconspicuous area before proceeding with the entire model. Using the right tools ensures a smooth and effective polishing process.
Choosing the Right Polish

Selecting the right polish is critical for achieving optimal results without damaging your diecast cars. Avoid using harsh or abrasive polishes that are designed for full-size cars, as these can scratch the delicate paint on your models. Instead, opt for polishes specifically formulated for model cars or automotive detailing. These polishes typically contain finer abrasives and gentle cleaning agents that are safe for delicate surfaces. Consider the type of finish on your diecast cars when choosing a polish. For example, a high-gloss finish might benefit from a polishing compound designed to enhance shine, while a matte finish might require a specialized polish to avoid creating a glossy appearance. Always test the polish on a small, inconspicuous area first to ensure it does not cause any discoloration or damage. Carefully consider the polish’s composition and any potential impacts it might have on your diecast cars.
Step-by-Step Diecast Car Polishing Guide
Polishing your diecast cars is a straightforward process when you follow a step-by-step guide. Each stage plays a crucial role in achieving a flawless finish and preserving the model’s condition. Careful preparation, the right techniques, and a keen eye for detail will help you achieve professional-quality results. This guide is to help you confidently restore your diecast car’s shine and protect your investment. Following these steps ensures that you handle your models with care, maximizing their beauty and value.
Preparing Your Diecast Car for Polishing
Before you start polishing, thorough preparation is essential. Begin by carefully cleaning the diecast car to remove any dust, dirt, or debris. Use a soft microfiber cloth dampened with water or a mild cleaning solution specifically designed for model cars. Avoid using harsh chemicals or abrasive cleaners, as they can damage the paint. Gently wipe down the entire surface of the car, including the body, windows, and wheels. Next, inspect the model for any imperfections, such as scratches or swirl marks. Take a picture of the car before so you can take a picture after to compare. If you find any, you may need to use a slightly more aggressive polishing compound or consider using a clay bar to remove embedded contaminants. Make sure the car is completely dry before proceeding to the polishing stage. Proper preparation ensures that the polish can effectively bond with the paint and that you achieve the best possible results.
Applying the Polish

Once your diecast car is clean and dry, it’s time to apply the polish. Dispense a small amount of polish onto a clean microfiber cloth. Start with a small amount; it’s always better to add more if needed. Apply the polish to the surface of the car in a thin, even layer. Use a gentle, circular motion to work the polish into the paint. Avoid applying too much pressure, as this can cause swirl marks. Work on a small section at a time, typically a panel or area of the car. Once the polish is evenly distributed, allow it to dry slightly, following the instructions on the product label. This drying period allows the polishing agents to work their magic and lift away any imperfections. Proper application of the polish sets the stage for the next crucial step, removing the polish, revealing a brilliant shine. Use a very soft microfiber cloth and remove any excess polish.
Polishing Techniques and Tips
To achieve the best results when polishing your diecast cars, use these polishing techniques and tips. Work in a well-lit area to easily see any imperfections. Use a circular motion for applying and removing polish, ensuring even coverage. Avoid excessive pressure, as this can create swirl marks. If you’re using a dual-action polisher, use a low speed setting and a soft polishing pad, and practice on an inconspicuous area first. Consider working on the polish in layers, with a fine compound followed by a finishing polish to enhance shine. If you notice any scratches, try a dedicated scratch remover before polishing. Always use clean microfiber cloths to prevent scratching the paint. When polishing intricate details or tight corners, a detailing brush can be helpful. Proper technique and patience are essential, so take your time and enjoy the process. With practice, you’ll get better.
Removing the Polish
After the polish has dried, it’s time to remove it and reveal the shine. Using a clean, soft microfiber cloth, gently wipe away the dried polish. Use a clean part of the cloth with each wipe to avoid reintroducing any imperfections. Work in a circular motion, overlapping each stroke to ensure complete removal. Pay close attention to crevices, edges, and details where polish might accumulate. Check the surface frequently to ensure all the polish has been removed and there are no streaks or residue. If you find any stubborn areas, use a fresh microfiber cloth and a very small amount of polish, gently working the area until the residue is gone. Once all the polish is removed, inspect the surface for any remaining imperfections. If needed, repeat the polishing process with a finer compound for an even more flawless finish. The final removal of the polish reveals the true results of your work.
Maintaining Your Polished Diecast Cars

Once your diecast cars are polished, maintaining their condition is essential to preserve their beauty and value. Regular care and proper storage will help to keep them looking their best for years to come. This ensures you continue to enjoy your collection and protect your investment. Consistent maintenance requires minimal effort but yields maximum benefits. By adopting good habits, you can easily maintain your diecast cars’ pristine appearance and protect them from environmental factors that could cause damage.
Storage and Protection
Proper storage is critical for protecting your polished diecast cars from damage. Store your models in a cool, dry place away from direct sunlight and extreme temperatures. Exposure to sunlight can cause the paint to fade, while extreme temperatures can warp or damage the model. Display your models in a dust-free environment, such as a display case or cabinet. This will minimize the accumulation of dust and debris, which can scratch the paint. If you don’t have a display case, consider using individual protective cases for each model. These cases will protect them from dust, scratches, and accidental damage. Avoid handling your models excessively, as this can transfer oils from your skin and potentially scratch the paint. Keep your models safe from damage by protecting them.
Regular Cleaning and Polishing
In addition to proper storage, regular cleaning and polishing are key to maintaining your diecast cars. Dust your models frequently with a soft microfiber cloth to remove any accumulated dust. For more thorough cleaning, use a mild cleaning solution designed for model cars, being cautious to avoid harsh chemicals. Consider re-polishing your models every few months or when you notice a decrease in shine or the appearance of imperfections. This regular maintenance schedule will help keep your models looking their best and protect their paint. If you notice any scratches, address them promptly with a specialized scratch remover or a fine polishing compound. By incorporating regular cleaning and polishing into your maintenance routine, you will ensure that your diecast cars remain in pristine condition and retain their value. This will provide you with the best results.