Diecast cars, with their intricate details and realistic designs, are cherished by collectors and hobbyists alike. Whether you’re looking to customize a model, repair a damaged piece, or simply understand the inner workings of these miniature vehicles, learning how to disassemble a diecast car is a valuable skill. This ultimate guide provides a comprehensive, step-by-step approach to safely and effectively taking apart your diecast models. With the right tools and a little patience, you can embark on this exciting journey of exploration and restoration.
What You’ll Need to Disassemble a Diecast Car
Before you begin, gather all the necessary tools and protective gear. Having everything prepared beforehand will streamline the process and minimize the risk of damage to your model. The tools required for disassembling a diecast car are relatively basic but essential. Safety should always be a top priority, so don’t skip the protective gear. A well-prepared workspace will make the whole process much smoother and more enjoyable.
Essential Tools for Disassembly
Screwdrivers

A set of small, precision screwdrivers is crucial. You’ll need a variety of sizes and head types (Phillips head, flathead) to remove the screws that hold the car together. Look for a set specifically designed for electronics or model building, as these usually offer the appropriate sizes.
Tweezers
Tweezers are invaluable for manipulating small parts, such as screws, clips, and interior details. Pointed and angled tweezers can be particularly helpful for reaching into tight spaces. Make sure the tweezers are made of a non-marring material to avoid scratching the diecast car.
Hobby Knife
A sharp hobby knife or X-Acto knife is useful for cutting through glue, removing small parts, and carefully separating components. Always use caution and cut away from yourself to prevent injury. A fresh blade will make the job easier and safer. Consider using a cutting mat to protect your work surface.
Heat Source

A hairdryer or heat gun (used on a low setting) can be helpful for softening glue or plastic parts that are difficult to remove. Apply heat cautiously and evenly, avoiding excessive heat that could damage the model. Test the heat on a less visible area first.
Protective Gear
Gloves
Wearing gloves can protect your hands from sharp edges and keep the model clean. Nitrile or latex gloves are good choices.
Safety Glasses

Protect your eyes from flying debris by wearing safety glasses. This is especially important when using a hobby knife or heat gun.
Step-by-Step Disassembly Guide
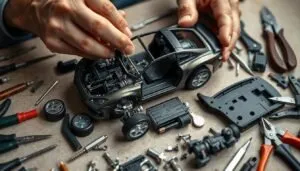
With your tools and protective gear in place, you’re ready to begin disassembling your diecast car. Follow these steps carefully, and take your time. Remember that each model may have unique construction methods, so adapt these instructions as needed.
Preparing the Diecast Car
Before starting, clean the diecast car to remove any dust or debris. Take photos of the car from various angles before disassembly to help with reassembly. Set up a well-lit workspace to clearly see the components. A clean workspace will help to keep small parts from getting lost. Organize small parts as you remove them, perhaps using small containers or a parts tray.
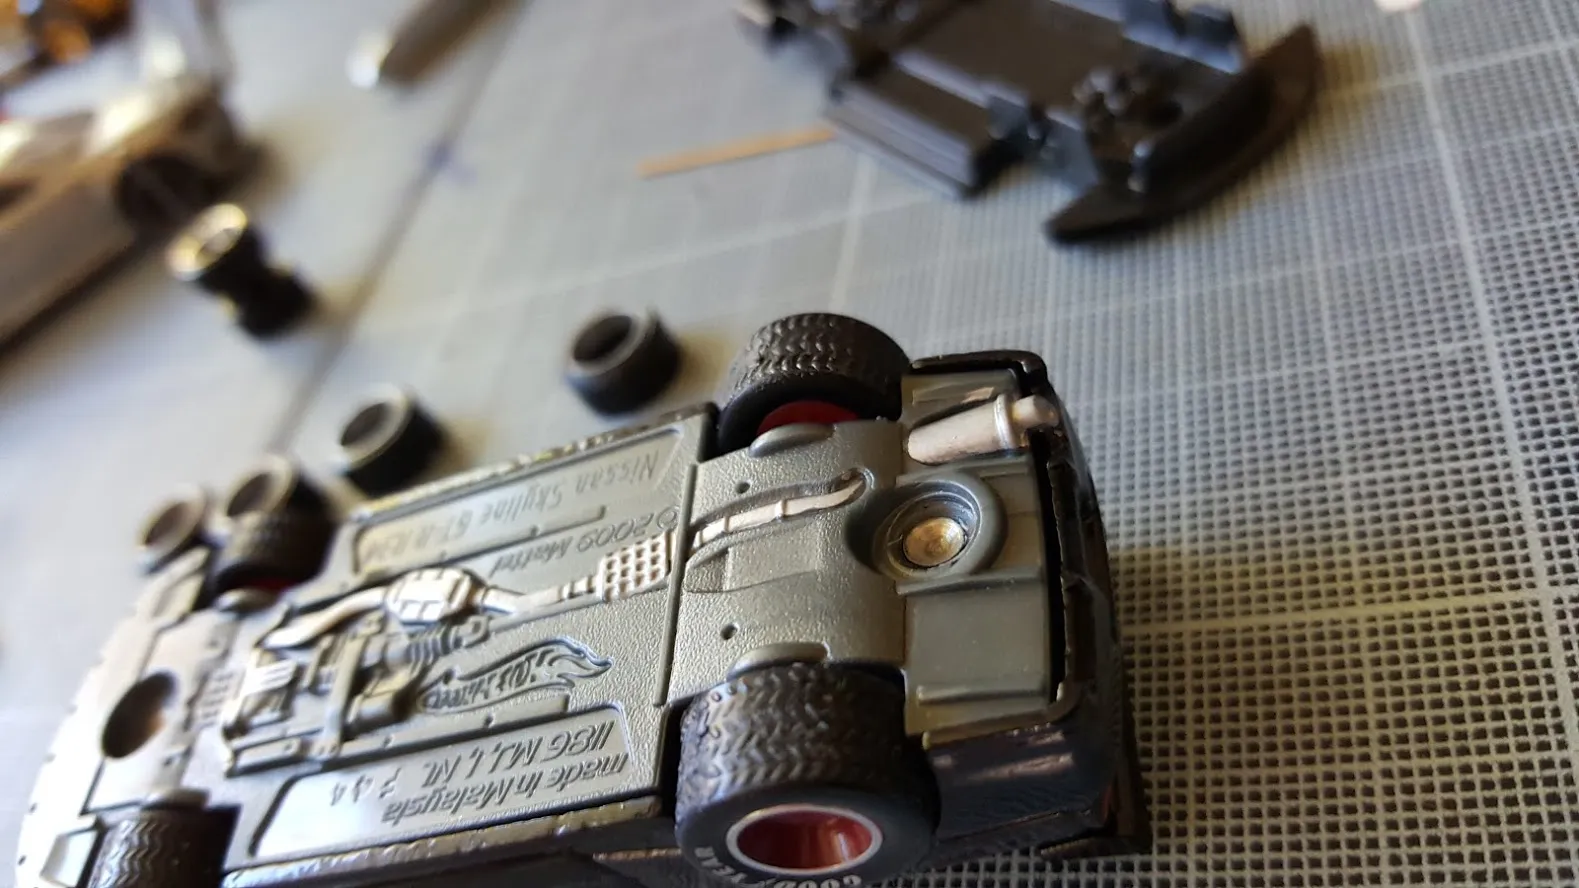
Locating and Removing Screws

Carefully inspect the underside of the car for screws. These are usually located on the chassis. Also, check the interior for screws. Use the appropriate screwdriver to remove the screws. Be gentle, and do not overtighten them when reassembling. If a screw is difficult to remove, try applying a small amount of penetrating oil or using a slightly larger screwdriver.
Body Removal
Once all the screws are removed, gently separate the body from the chassis. Sometimes, the body is clipped onto the chassis or secured with glue. If it doesn’t come apart easily, check for any hidden screws or clips. If glue is present, apply heat with a hairdryer to soften it. Use the hobby knife to carefully separate the body, taking care not to scratch the paint.
Removing the Interior
Once the body is separated, you can remove the interior components. These may include seats, dashboard, steering wheel, and other details. Some of these components might be glued or clipped into place. Use tweezers and a hobby knife to carefully detach these parts, being mindful of any fragile elements. Take pictures during this process to remember how everything fits.
Taking Apart the Wheels and Chassis
The wheels and chassis often come apart next. This can involve removing axles, clips, or other fasteners. Note how the wheels are attached to the axles; the easiest way to do this may depend on the model car. If the wheels are glued in place, applying heat might be necessary. With the wheels off, you can often further disassemble the chassis, which might involve removing engine details, exhaust systems, and other undercarriage components.
Tips and Tricks for a Smooth Disassembly
Successfully disassembling a diecast car requires patience and attention to detail. Here are some tips and tricks to make the process easier and more rewarding.
Dealing with Glued Parts
Many diecast car components are glued together. Apply heat with a hairdryer or heat gun to soften the glue. Use a hobby knife to carefully separate the glued parts. Go slowly to avoid damaging the model. If you’re planning to reassemble the model, consider using a suitable adhesive, such as model glue, to reattach the parts.
Avoiding Damage

Use the right tools, apply force gently, and take your time. Avoid using excessive force, which can damage the model. Take photographs during the disassembly process to remember how the car was put together. Store small parts in a safe place to prevent loss. If a part is difficult to remove, stop and reassess the situation. Consult online forums or videos for specific models. Remember to work in a well-lit area to reduce the chances of mistakes.
Reassembly Considerations
Once you have disassembled your diecast car, reassembly is the final step. Refer to the photographs you took during the disassembly process. Start by reassembling the chassis and then reattaching the interior components. Carefully align the body with the chassis and secure it with screws. Ensure that all the parts are correctly positioned before tightening the screws. If you are repainting the model, now is the time to do it. Use the correct adhesives for the best results. Remember to test fit parts before gluing to make sure everything aligns correctly. And finally, enjoy the satisfaction of restoring your diecast car.
Disassembling a diecast car is a rewarding hobby that combines technical skill with creative exploration. By following these steps, using the right tools, and practicing patience, you can successfully take apart your diecast models and even customize them to your liking. Enjoy the process and have fun!